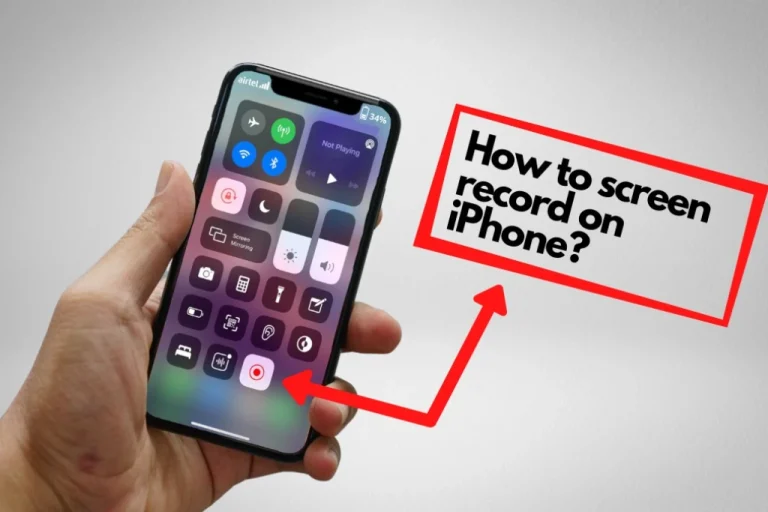
You can save a clip from social media or record a game by using the screen recording feature of an iphone.
In this article I will guide you on how to enable and use the screen recording feature of iphone.
Add Screen Recording to Control Center
- Open the Settings app on your iPhone.
- Scroll down and tap on the Control Center.
- Tap Customize Controls (for older iPhones) or directly find the Included Controls section.
- Find Screen Recording under More Controls and tap the green + button to add it.
Start Screen Recording
- Swipe down from the top-right corner of your screen (for iPhone X and newer).
- On iPhone 8 or earlier swipe up from the bottom of the screen.
- On iPhone 8 or earlier swipe up from the bottom of the screen.
- Tap the Screen Recording icon.
- You will see a 3-second countdown and then your iPhone will start recording the screen.
Stop Screen Recording
- Tap the red bar or red time at the top of your screen.
- Tap Stop on the popup.
- Your recording will be automatically saved in the Photos app.
Record with Microphone Sound
If you want to include your voice or sound from around you (like while giving instructions):
- Press and hold the screen recording button in the Control Center.
- Tap the Microphone icon to turn it ON.
- Then tap Start Recording.
Now your screen and microphone sound will both be recorded.
Tips for Better Recordings
- Close unnecessary apps before starting.
- Turn on Do Not Disturb to avoid unwanted notifications.
- Clean your screen for a better looking video.
What Can You Use Screen Recording For?
- Making tutorials
- Recording gameplay
- Saving Instagram or TikTok clips
- Reporting app bugs
- Recording video calls (always take permission!)
Also read this: How to create an apple id?


