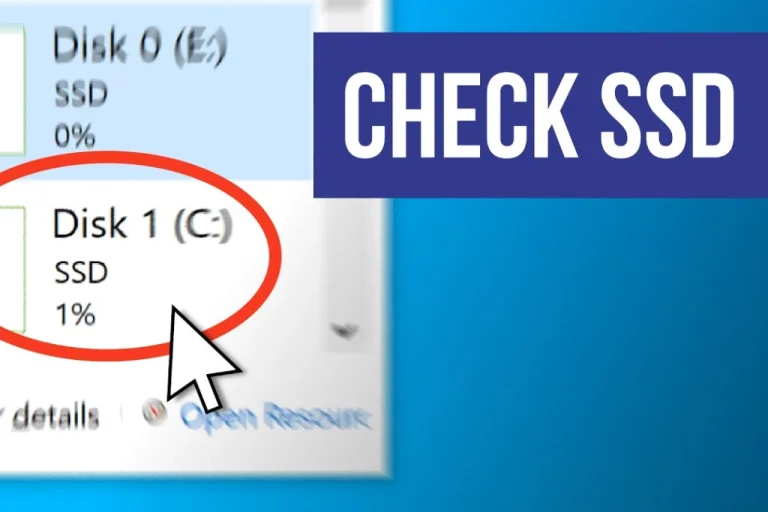
SSD stands for Solid State Drive. Most modern laptops come with an SSD (Solid State Drive) instead of the old hard drives these days.
In this article I will explain how to check the SSD of your laptop.
Check SSD Using Windows Settings
This is the easiest way for Windows users:
- Click on Start Menu and open Settings.
- Go to System > Storage.
- Here you can see your storage drives and their sizes.
- To know the drive type click on Advanced Storage Settings > Disks & Volumes.
If it says SSD then it is good. If it says HDD then it is an older hard disk.
Check SSD in Task Manager
- Press Ctrl + Shift + Esc to open the Task Manager.
- Click on the Performance tab.
- Select the drive under Disk.
- On the right side you will see the drive type as SSD or HDD.
Check SSD Using System Information
- Press Windows Key + R to open the Run box.
- Type msinfo32 and press Enter.
- In the System Information window, search for Storage or Drives.
- You will find the disk type and model number.
Check SSD Using Free Third-Party Tools
There are free tools that give more details about your SSD:
| Tool Name | What It Shows |
| CrystalDiskInfo | Health, temperature, usage hours |
| Speccy | Full system info including SSD type |
| HWInfo | Very detailed SSD info |
| Samsung Magician / WD Dashboard | For specific SSD brands |
Check SSD on MacBook (for Mac users)
- Click on the Apple Logo in top-left.
- Select About This Mac.
- Go to the Storage tab.
- You will see your disk type listed.
Check SSD Through BIOS/UEFI
Sometimes you can check SSD information directly from BIOS:
- Restart your laptop.
- Press the key to enter BIOS (usually F2, Del or Esc).
- Look for Storage Information.
- You will see if your laptop has an SSD or not.
Also read this: How to Take a Screenshot on a Laptop and MacBook


